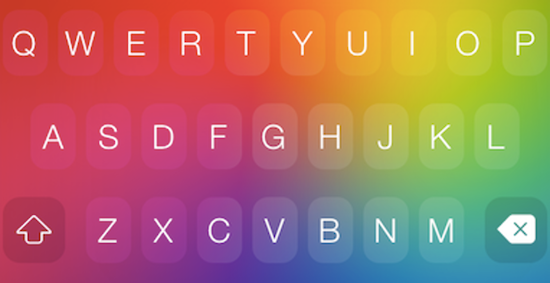
When it was released back in September, iOS 8 brought a slew of new tools and features to the iPhone and iPad, not the least of which is the ability for users to install their own custom, third-party keyboards. Since then, there have been a number of fun, and useful, keyboards released on the app store, and iOS users now actually have some choice in how they interact with their devices. If you haven’t dabbled with a custom keyboard just yet, here is everything you need to know to install one on your iPhone or iPad.
Apple Restrictions
Before we get started with installing a new keyboard on your favorite device, there are a few things you should know first. As usual, Apple is concerned about the overall user experience, and level of security on our devices, so they have restricted the use of third-party keyboards to an extent, although you generally won’t notice all that much. For example, Apple won’t allow these keyboards to be used when typing in secure information, such as a password. In those cases, the default iOS keyboard will appear instead. Similarly, Apple has locked out those keyboards from accessing the microphone as well. Other than that, third-party keyboards should operate systemwide, although the quality of the experience varies somewhat based on the app developer.
Select and Install a Keyboard
The first step in getting a new keyboard installed on your device is to go to the App Store, and find one that you’d like to try. Search the store using the term “keyboard” to reveal the literally dozens of options that you have to choose from at this point. Some of these will be more useful than others, although there are a few novelty keyboards that can be quite fun too. Once you’ve discovered one you’d like to install, simply download it to your iPhone or iPad just like any other app.

Activate the New Keyboard
Next, you need to activate the new keyboard by going to your Settings app. Under “General” settings, you’ll find an option for “Keyboard.” In the past, this allowed you to select which language you wanted to use, turn on emoji, and so on. But now, you’ll also see the option for “Add New Keyboard…” as well. Tapping on that option will present a list of all of the third party keyboards that are currently installed on your device. Simply select the ones that you would like to activate.
Using Your New Keyboard
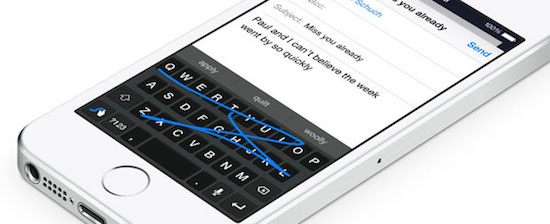
Once you have activated the new keyboard, it will become an option for use anytime the onscreen keyboard appears. But one thing you’ll notice is that Apple’s built-in iOS keyboard will appear by default. In order to switch to your new keyboard, you’ll have to tap on the globe icon on the lower-left side of the screen. This should switch away from Apple’s native keyboard to the one that you installed.
Set Your Third-Party Keyboard as the Default
It can get rather frustrating to have to switch over to the third-party keyboard every time you want to use it, but thankfully there is a way to make it the default keyboard as well. Go back to the Settings app once again, and find the options for keyboards. Apple’s native keyboard is listed there as “English,” and by swiping left on that option, you’ll be able to delete the keyboard altogether. This will make your new third-party keyboard the default option moving forward. As noted above however, Apple’s keyboard will still appear when entering passwords and other sensitive data.
Give the Keyboard “Full Access”
For some keyboards to function properly, they must also be given “Full Access” status. You’ll find this as an option in their settings when activating the third-party keyboard. This is often used to access some special features in involve the cloud or to interact more fully with others apps on your device. When you activate this setting, you’ll get a warning telling you that by giving the keyboard full access, the app developer could capture keystrokes to save information such as your passwords, email address, or other potentially sensitive data. Most keyboards will still work without giving them full access, but they could potentially be limited when this option is not turned on. On the other hand, app developers shouldn’t be capturing your information in the first place, so it is likely that you’ll be safe. Still, it is important that you understand what the consequences are for activating this setting, and I would not be surprised to find out down the line that some nefarious keyboard app is actually capturing this data.
That’s all you need to know about installing custom keyboards in iOS 8. As usual, the process is very simple, and potentially extremely useful as well. Now go try it for yourself!
