Terminal is one of the most powerful tools your Mac has to offer. There was a time that everything was done via the command prompt, but with the advent of the graphical user interface Terminal has been given a backseat to regular system operation.
This doesn’t mean Terminal is any less powerful today than when everything ran from it, though. Terminal can still be used for everything from changing hidden computer settings to editing files and applications. Before you get too into Terminal commands however, you need to know the basics. Check out the Terminal tips below and start using the Mac command prompt like a pro.
1. No Mouse Necessary
The mouse is a vital part of the graphical user interface (GUI) but in Terminal the keyboard is king. You won’t be able to click around in the Terminal window so get used to not trying to. It’s an all-arrows party in Terminal and once you get used to it you’ll be fine.
2. Drag and Drop Files
There are a few instances that the mouse is useful however. If you need to run a command on a file that’s buried a few levels deep on your Mac, you can actually drag and drop it into the Terminal window to access it.
Just type in whatever command you want before dropping the file in, and the command will run.
3. Commands Are Executed with Return
This is kind of a no-brainer, but when you copy/paste or type a command into Terminal it’s run by hitting the Return key on your keyboard.
4. Stop a Command With Control + Z
If you’re running a command and you need it stop there is no force quit except for ending the entire Terminal application, so you need to force stop the command itself. To do this hit the Control key with the letter Z.
This will end a command and is very useful when you accidently run something that’s taking far too long or run by mistake.
5. Capitalization and Spacing Matter
OS X runs with a UNIX-like core, which is case-specific. That means that b isn’t the same as B, so if a command or application has an uppercase letter then you have to use it. The same goes for spaces between commands and in filenames.
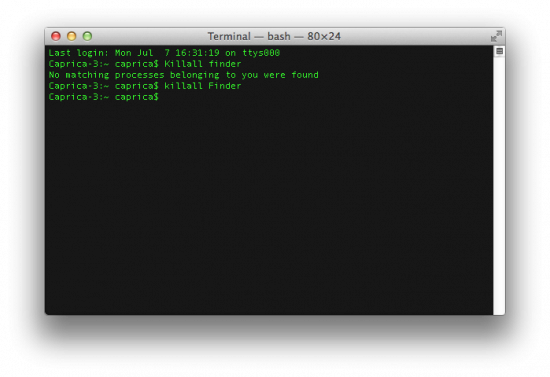
For example, to restart Finder you would type killall Finder, but if you instead typed Killall finder it would error out. Pay attention to case and spelling. It matters.
6. Recall Previously Entered Commands by Pressing the Up Arrow
Since you can’t use the mouse and some commands can be pretty long to type out, you can access previously entered commands easily by just hitting the up arrow on your keyboard.
Continue hitting the up arrow to go back in history one by one until you see the command you’re looking for. This saves everything run through Terminal, including incorrect commands.
7. Type man Before a Command to Learn About it
Curious what a command does and want to know more before you run it? Instead of trying to find it on Google, you can actually ask Terminal itself what the command does. Just type man before a command and hit Return to get a report of what the command is.
8. View All Commands Available in Terminal
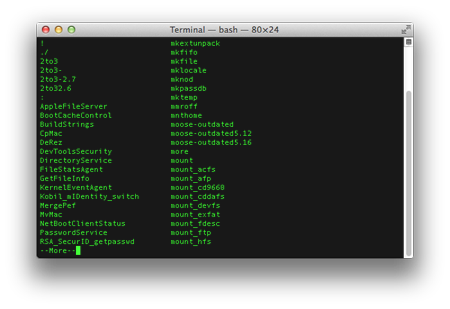
If instead of knowing what a single command does you’d rather have a complete list of Terminal commands, you can do that by holding the Escape key and hitting Y when prompted. Hit Q on your keyboard to exit.
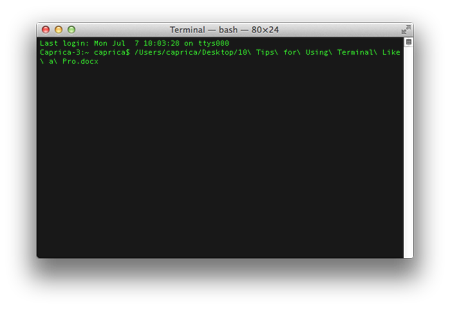
9. Auto Complete
If you’re typing a path to a filename you can hit the Tab button on your keyboard to automatically complete each step of it, as long as the beginning of what you typed only lines up with one file or directory.
For example, if the folder you’re getting into is labeled bigscarylongnamefolder you can start typing big and hit Tab to fill the rest in.
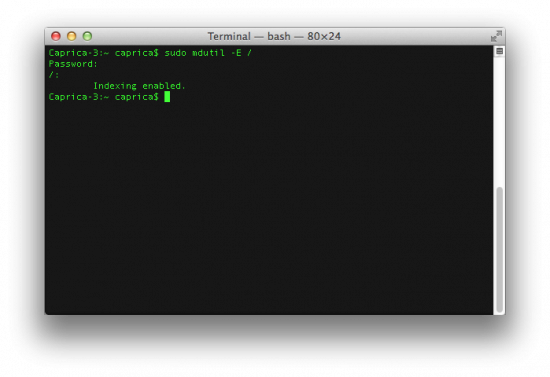
10. Copy Current Path From Terminal
IF you want to copy the current directory you’re working inside of in Terminal to the clipboard, all you have to do is enter a simple command. This is great because it’s easy to get lost in Terminal and with this command you can easily paste the results and see where you are.
Enter this into Terminal and hit Return to copy your current directory to the clipboard. Hit Command + V to paste it anywhere text can be pasted.
Pwd|pbcopy
Once that is run you can continue your work, but the current directory will be copied.


4 thoughts on “10 Tips for Using Terminal Like a Pro”
Shouldn’t it be ctrl-c to stop a command
Yes, ctrl-c force quits a command, while ctrl-z pauses the command.
Thanks for the clarification guys. I crossed the streams there and changed stop for pause. I’ll fix that.
Well talking about Terminal and Commands that I have found on other sites that might be useful.
Usage: diskutil [quiet] , where is as follows:
list (List the partitions of a disk)
info[rmation] (Get information on a specific disk or partition)
listFilesystems (List file systems available for formatting)
activity (Continuous log of system-wide disk arbitration)
u[n]mount (Unmount a single volume)
unmountDisk (Unmount an entire disk (all volumes))
eject (Eject a disk)
mount (Mount a single volume)
mountDisk (Mount an entire disk (all mountable volumes))
enableJournal (Enable HFS+ journaling on a mounted HFS+ volume)
disableJournal (Disable HFS+ journaling on a mounted HFS+ volume)
moveJournal (Move the HFS+ journal onto another volume)
enableOwnership (Exact on-disk User/Group IDs on a mounted volume)
disableOwnership (Ignore on-disk User/Group IDs on a mounted volume)
rename[Volume] (Rename a volume)
verifyVolume (Verify the file system data structures of a volume)
repairVolume (Repair the file system data structures of a volume)
verifyDisk (Verify the components of a partition map of a disk)
repairDisk (Repair the components of a partition map of a disk)
eraseDisk (Erase an existing disk, removing all volumes)
eraseVolume (Erase an existing volume)
reformat (Erase an existing volume with same name and type)
eraseOptical (Erase optical media (CD/RW, DVD/RW, etc.))
zeroDisk (Erase a disk, writing zeros to the media)
randomDisk (Erase a disk, writing random data to the media)
secureErase (Securely erase a disk or freespace on a volume)
partitionDisk ((re)Partition a disk, removing all volumes)
resizeVolume (Resize a volume, increasing or decreasing its size)
splitPartition (Split an existing partition into two or more)
mergePartitions (Combine two or more existing partitions into one)
appleRAID (Perform additional verbs related to AppleRAID)
coreStorage (Perform additional verbs related to CoreStorage)
apfs (Perform additional verbs related to APFS)
Deleting the SleepImage File in Terminal
sudo rm -rf /var/vm/sleepimage
diskutil list
To Disable SIP using Terminal
csrutil disable
csrutil clear and reboot
csrutil enable – -without debug (There still apps that won’t run if debug isn’t disable though they are disappearing)
csrutil enable
Use at your own risk.