
A video can look vivid on an iPhone, flat on a Mac browser, oversaturated after editing, and strangely dim on a television. Nothing in the scene changed. The chain around it did. Modern Apple devices can capture, edit, and display high dynamic range video, but every handoff introduces choices about color space, brightness, metadata, codec support, and tone mapping.
The solution is not a single “best” export setting. It is a controlled workflow in which you know what the source contains, what the destination accepts, and where an SDR fallback is needed. This guide keeps the terminology practical and focuses on the decisions that prevent washed-out highlights, crushed shadows, and unnecessary re-encoding.
Why the same clip changes across Apple screens
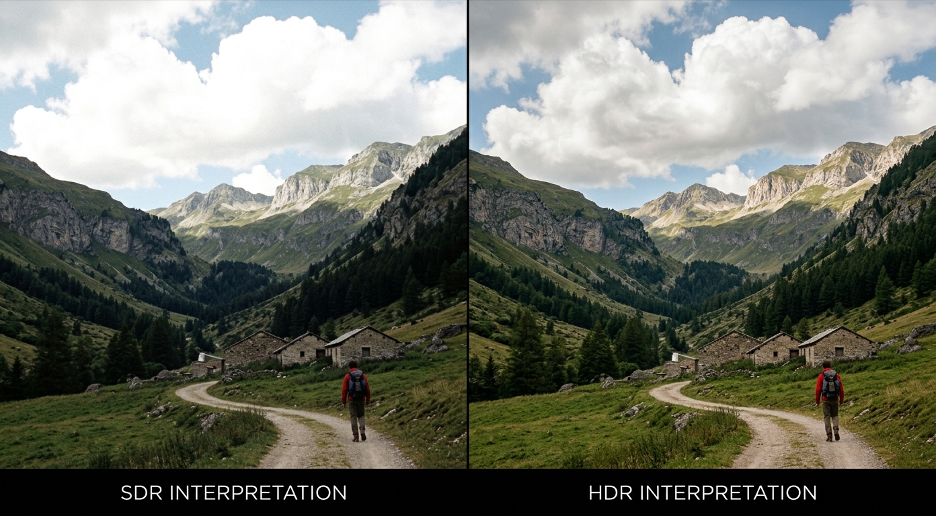
Standard dynamic range video is commonly mastered around Rec.709 expectations. HDR video stores and signals a wider brightness and color range, often through HDR10 or Dolby Vision. A compatible display interprets that information and maps it to the panel’s capabilities. An incompatible app or display may ignore part of the signal, apply its own conversion, or show an SDR interpretation.
That is why “it looks right in Photos” is not a complete quality check. Photos, QuickTime Player, an editing timeline, a web browser, a social app, and Apple TV can each handle the file differently. Display brightness and ambient light add another variable. The practical goal is consistency across intended destinations, not pixel-for-pixel sameness across every screen.
Map the chain from capture to display
Start by documenting four stages: capture, edit, export, and playback. At capture, note whether the iPhone recorded HDR or SDR and which frame rate and resolution were used. At edit, confirm that the project color space matches the source. At export, choose a codec and HDR signaling the destination supports. At playback, test on the devices and apps that matter.
Do not mix files casually. A project may contain iPhone Dolby Vision footage, screen recordings in SDR, downloaded graphics, and older camera clips. The editor has to reconcile those sources. If the timeline is HDR, SDR assets need deliberate treatment. If the final deliverable is SDR, HDR clips need tone mapping rather than a blind export. Keeping a one-line media inventory saves hours of guesswork later.
Repair resolution before the HDR stage
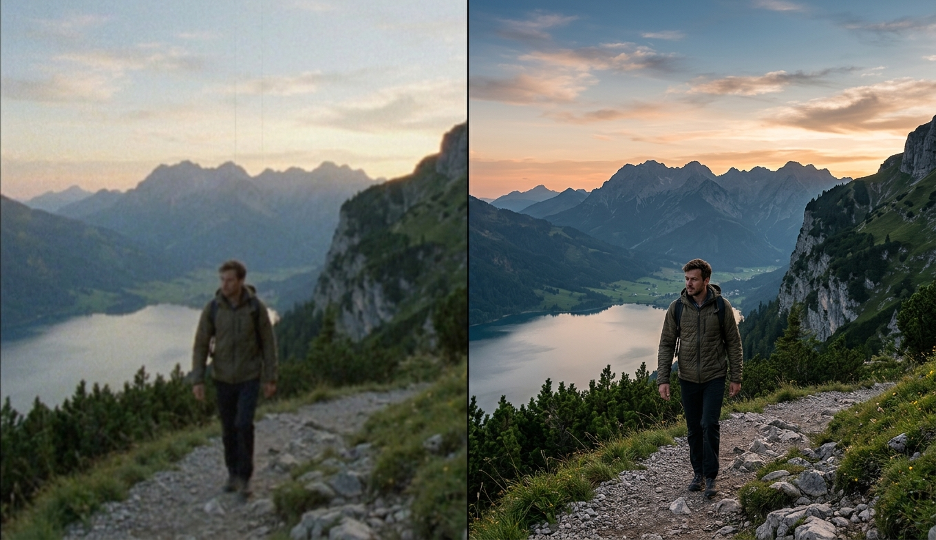
Older clips often enter an Apple workflow at 480p or 720p. Increasing dynamic range will not fix soft edges, blocky compression, or missing texture. If a legacy clip must sit beside modern iPhone footage, correct its resolution and noise first. An AI Video Upscaler can be used at this preparation stage, before grading and HDR delivery.
UniFab lists models for general footage, texture detail, anime, and film or television material. Local processing is advertised up to 16K, while FabCloud output is limited to 4K. Those are output ceilings, not promises that every source will support extreme enlargement. For a 1080p or 4K Apple project, make a short test and inspect faces, text, fine patterns, and motion. Stop when the clip integrates cleanly; excessive scaling only creates larger files and more opportunities for artificial detail.
Keep color management intact during editing
Once source quality is stable, protect the color pipeline. Use a project setting that matches the intended master, monitor scopes rather than relying only on screen brightness, and avoid applying the same contrast adjustment to both SDR and HDR material. Highlights that look restrained on one display may clip on another, while shadows lifted for a dim room can look gray on a brighter panel.
Graphics require special attention. White titles, logos supplied by a client, and screen captures may appear far brighter than expected in an HDR timeline. Set them intentionally rather than letting defaults decide. If the editor supports HDR reference viewing, use it, but still create a normal-brightness review version. A technically correct master can be uncomfortable if every title card is treated like a specular highlight.
When SDR footage must join an HDR project
A library often contains valuable SDR material that cannot be reshot: interviews, product demonstrations, family footage, or early campaign assets. A dedicated SDR to HDR Converter can create an HDR version through inverse tone mapping rather than simple brightness expansion. UniFab states that its process maps 8-bit Rec.709 SDR toward HDR10 or, in the local version, Dolby Vision.
The local tool includes 4K UHD, QHD, FHD, and Fast modes, while FabCloud currently outputs HDR10 and uses credits. Two limits matter. First, an HDR-compatible display is required to judge the result. Second, heavily compressed noise can become more visible when luminance is expanded. Clean and upscale weak footage before conversion, compare against the SDR source, and reject any version that changes the scene’s intent merely to look more dramatic.
Export for the destination, not the editing monitor
Create deliverables from the destination backward. For an Apple TV presentation on a known HDR display, an HDR master may be appropriate. For a website, client portal, or platform with inconsistent HDR handling, prepare an SDR version as well. For messaging and quick review, use a smaller proxy rather than asking collaborators to download the master.
Keep metadata and naming clear. Include resolution, frame rate, dynamic range, and version in the filename or delivery notes. Do not label a file “final” without identifying whether it is HDR or SDR. Store the high-quality master separately from platform-specific encodes, because social and streaming services may recompress uploads and their behavior can change.
A no-surprises device test
A useful test matrix can be small. Review one bright scene, one dark scene, skin tones, titles, and fast motion on an iPhone, an iPad or Mac, and the target television if available. Test in the actual playback app, not only in the editor. Check whether the display indicates HDR, whether highlights retain detail, and whether the SDR version still looks intentional.
Also test the failure path. Turn down display brightness, use a non-HDR browser or monitor, and watch the fallback. If the audience is likely to see a washed-out version, the workflow needs a separate SDR export. This is not duplication for its own sake. It is delivery engineering: one master preserves the richest version, while access copies make the work dependable in real conditions.
Frequently asked questions
Why does iPhone HDR video look washed out after export?
The export or playback app may not interpret the HDR color space and metadata correctly, or the file may have been placed in an SDR timeline without proper tone mapping.
Should old 720p footage be converted directly to HDR?
Usually, clean and upscale it first. HDR conversion expands luminance and color behavior; it does not repair low resolution or compression artifacts.
Is Dolby Vision always better than HDR10?
Not automatically. Dolby Vision supports dynamic metadata, but the better deliverable is the one your editing, distribution, and playback chain handles reliably.
Do I need both HDR and SDR exports?
If viewers use mixed devices and platforms, maintaining both is often the safest approach. The HDR master preserves range, while the SDR version provides a controlled fallback.
Can a Mac display be used as the only HDR quality check?
It is useful, but test the actual destination too. App behavior, panel capability, brightness, and tone mapping can differ between the Mac and a television or mobile device.
