

One of the most common documents being used around the world is PDFs. However, having too many PDFs stored in your Mac may take up a significant amount of memory space. If they’re too important to dispose of, one way of saving up space is by resizing your PDFs. That way, you get to use this saved-up memory space for other important documents.
In addition, reducing the size of your PDF documents allows them to be easily attached in e-mails. On the other hand, one compromise you’ll have to make is the quality reduction of the PDF, which will decrease from its original state when resized in pdfescape.com.
Whether you’ll be willing to compromise on this or not depends on what you need it for. Nonetheless, if you want to resize your PDF documents, it’s actually quite easy to do. Simply follow these steps:
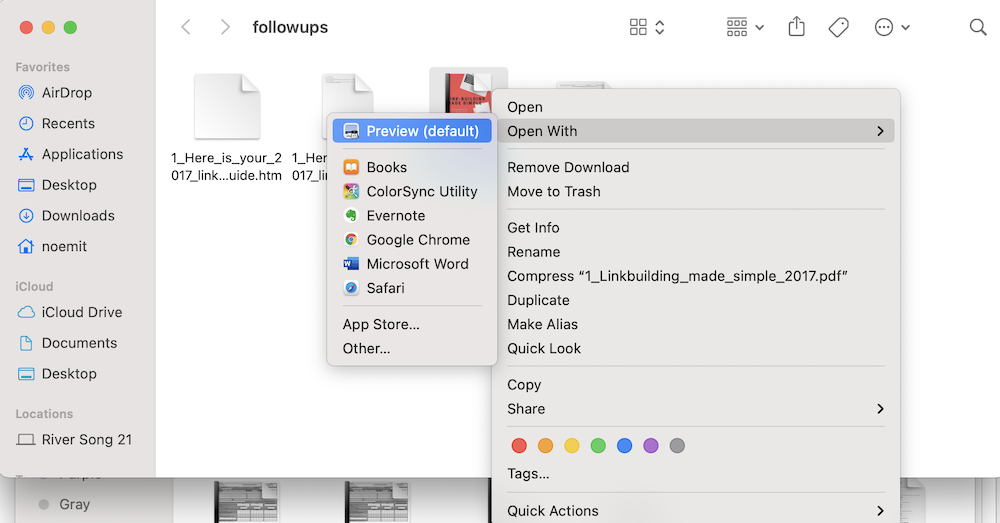
- Open the PDF document using the Preview app. If it’s not your default PDF viewer app, right-click on the PDF document to see your options. Click “Open with” and select “Preview.”
- Once you’ve opened the file, click on “File” located at the toolbar on top of your screen. From the options below, click on “Export.”
- A pop-up window should appear at the center of the PDF document. Somewhere below this window, you will find the “Quartz Filter” option. Click on the drop-down menu beside it and choose “Reduce File Size.”

- On the lower-right side of the window, click on “Save.”
Do take note that when you do this, your PDF file may end up too small. While this is a simple method, the result isn’t always great. Your PDF document might end up blurry or worse, unreadable. In case this method doesn’t cut it for you, there’s also another way of compressing PDFs without losing most of their quality, albeit a bit more tedious.
If you’re up for it, here’s what you need to do to resize your PDF document without compromising quality:
- Go to /System/Library/Filters or /System/Library/PDF Services where you can edit the XML files. If you didn’t know, the XML files are the ones controlling what causes or resolves these issues.
- Look for the file named “Reduce File Size.qfilter” and copy.
- Paste this file on your desktop. If you want multiple compression options, you can paste this file in other folders as well so they’re accessible whenever you need them.
- Once it’s pasted on your desktop, right-click on the file and select “Open With>TextEdit” from the options. Other text editors are fine if you wish to use a different one.
- Find the “Compression Quality” field and you should see that the default is 0. You can change this value depending on how compressed you want your PDF document to be when you reduce its size. The value ranges from 1 (least compressed) to -1 (most compressed). You can opt for 0.50 for medium-quality files and 0.75 for high-quality files.
- Next, find the “ImageSizeMax” field and you should see that the default is 512. You can change this value depending on what final size you want the document to be. You can set it to 1684 for medium-quality compression and 3508 for high-quality compression. At 1684, the result would be in A4 at 144 DPI while at 3508, the result would be in A4 at 300 DPI.
- Lastly, go to the “Name” field and change it to make it distinct. Whatever you name this file is what will appear in the Quartz Filter field when you’re resizing your PDF documents. Rename this file corresponding to the name that you put in the “Name” field.
- After making all the necessary edits, copy and paste this file back to the /System/Library/Filters or /System/Library/PDF Services directory. You might be prompted for administrator authentication.
- Once this file has been pasted back in the original folder, this new option will be added to your compression options in your PDF “Export” menu. Once you’ve tried it out and find that the quality is not up to your standards, you can simply adjust the values in the file again to suit your needs.
And that’s it! Hopefully, these methods helped you in resizing your PDF documents on Mac with ease. While the second method might be a tad long, it’ll be well worth it if you constantly resize your documents using PDFescape. This method will help speed up the process in the future. Plus, you’re guaranteed that the quality of your documents won’t be drastically reduced as well.


One thought on “How to Resize a PDF on Mac”
PDF Squeezer is a good tool for this job. It’s available via the Mac App Store $13.99. I think that’s CAD. If so, the price in USD is likely less. Anyway, it’s well worth it given the time and effort it has saved me over the years. The developers website is here: https://is.gd/BqOvO5