Emptying the Recycle Bin is often done without a second thought until the moment you realize something important was deleted. It could be an essential work file, a picture folder, or a valuable project whose sudden disappearance raises immediate concerns. All of this requires a brief understanding of how to recover deleted files from the Recycle Bin after it is emptied.
With a clear mindset, you gain the ability to respond, prevent further overwriting, and restore files before permanent loss. Without unnecessary delays, explore the guide below to find reliable methods for quick Recycle Bin data recovery.
Part 1. Why Deleted Photos Are Harder to Recover After the Recycle Bin Is Empty
Part 2. Precautions Before Attempting Recycle Bin Data Recovery
Part 3. Reliable Ways: How to Recover Deleted Photos/Files Safely After Emptying the Recycle Bin
Part 4. Manual Methods vs Recoverit: The Smarter Way to Recover Deleted Files from the Recycle Bin
Part 1. Why Deleted Photos Are Harder to Recover After the Recycle Bin Is Empty
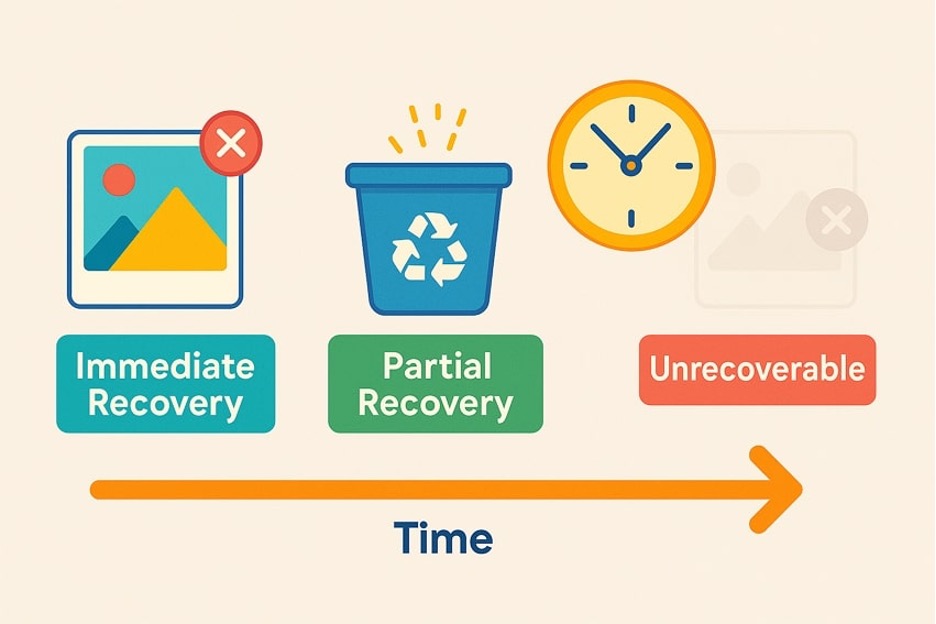
Once the Recycle Bin is emptied, the recovery process becomes more complex, especially in the case of pictures. To understand how to recover deleted files from the Recycle Bin after emptying, first explore why images are more difficult to retrieve:
- Photos Too Large in Size: After the folder is emptied, large photo blocks are more likely to be overwritten by new files, reducing the chances of recovery.
- Frequent System Overwrites: Deleted photos can be quickly replaced by background processes, like cached files, making recovery harder than ever.
- Due to Multiple Storage Locations: When deleted, fragments of the same photos are scattered, which complicates the recovery process after the bin is emptied.
- Cloud Sync Removes Photos Permanently: If photos were synced to cloud services, deleting them locally might activate permanent deletion across devices.
- Delayed Realization of Loss: Photos are often noticed missing days and weeks later, increasing the likelihood that the storage space has already been reused.
Part 2. Precautions Before Attempting Recycle Bin Data Recovery
To begin the recovery process, considering the precautions provided below can significantly improve your chances of retrieving lost pictures:
- Stop Using the Affected Hard Drive: Continued use of the drive can overwrite data, so avoid saving new files until recovery is complete.
- Check Backup Options Before Recovery: Verify whether the lost photos are in synced folders, as recovery can be simplified without using a complex program.
- Ensure System Stability: While crashes during recovery can corrupt files, ensure your system is connected to a reliable power source.
- Prioritize Important Files: If multiple files were deleted simultaneously, start by recovering the most important or irreplaceable photos.
- Do Not Install Recovery Software on the Same Drive: Installing recovery software on the affected drive can overwrite lost photos, reducing the chances of successful recovery.
Part 3. Reliable Ways: How to Recover Deleted Photos/Files Safely After Emptying the Recycle Bin
For potential data loss, you’ll need more precise, workable approaches to recover deleted files from the Recycle Bin after emptying. Considering this, the following sections highlight the best ways to retrieve your files/photos, each with its own functionalities:
Method 1: Use Professional Recycle Bin Data Recovery Software (Recoverit)
A professional-grade recovery software like Wondershare Recoverit provide 100% secure recovery process for sensitive pictures/files. Even if you’ve permanently deleted photos with the “Shift + Delete” command, you’re still able to recover them. Additionally, files deleted due to system crashes or disk errors can be easily recovered with this program. While supporting multiple image and document formats, it recovers numerous files at the same time.
More impressively, you’re allowed to examine all the recovered files before considering downloading them. Users can choose a location on their device to save the final recovered files for later use. Furthermore, it performs a comprehensive data scan of your selected location to recover all deleted files from that folder. The possibilities are endless when the program is compatible with all versions of Windows, macOS, and Linux.
Key Features
- Recovers Deleted Emails: You can recover all lost email attachments or notes from over 2000-plus storage devices, including external drives.
- Restore Memory Card Data: It supports the recovery of over 1000 file types stored on memory cards with both deep and quick scan options.
- Mac File Recovery Function: Users can recover all primary file types and formats associated with Mac, such as Office Files.
Detailed Guidelines to Recover Deleted Files with Recoverit
How to recover deleted files from the Recycle Bin after it is emptied is explained in the guide below, with step-by-step guidance:
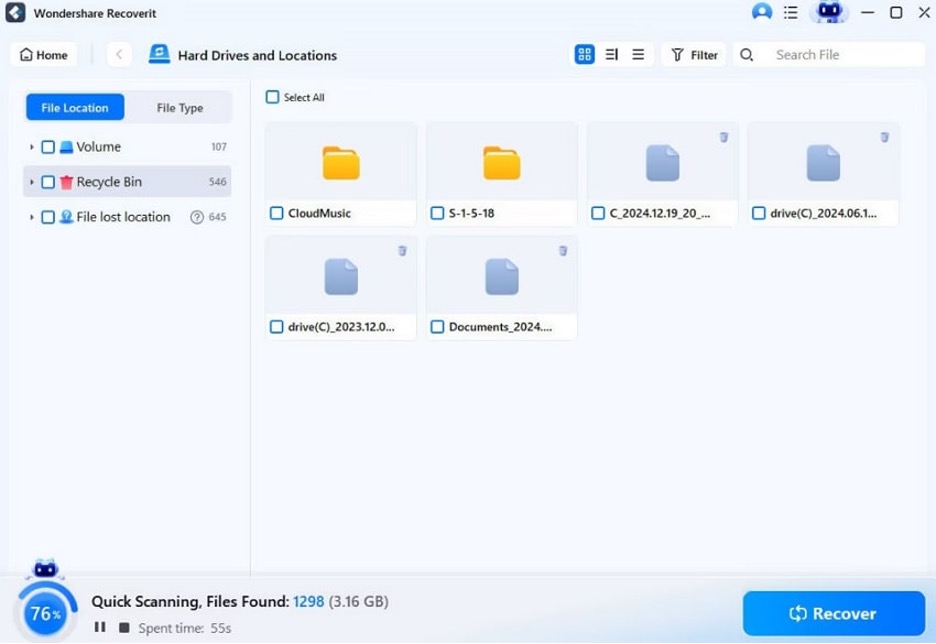
Step 1. Select a Location and Run a Scanner
Initially, access the “Hard Drives and Locations” section and choose the “Recycle Bin” folder to proceed. Afterward, the program will run a deep scan of your selected location, revealing all previously stored files.
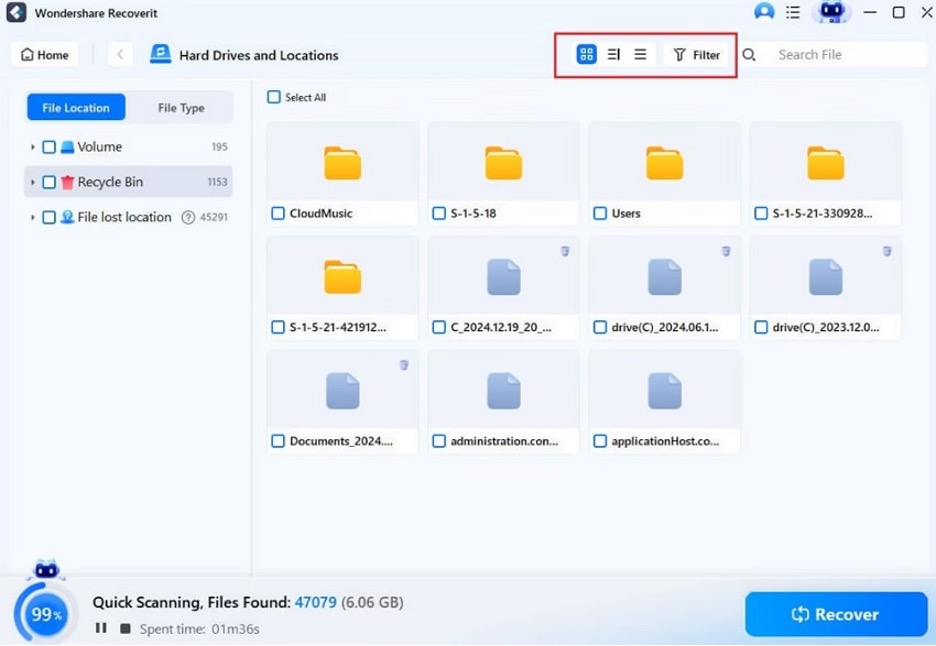
Step 2. Examine Your Files and Recover Them on the Device
Then filter the files to find the ones you want to recover, and press the “Recover” button to begin the recovery.
Method 2: Restore from Windows File History
Windows File History provides an automated backup of files and folders that existed before deletion. If File History was enabled prior to the deletion, this method retrieves all the lost files, maintaining their original structure. Adhere to the guidelines and understand how to restore files/photos from Windows File History:
Step 1. Look for “File History” in your Windows and click the “Restore Personal Files” option from the left side.
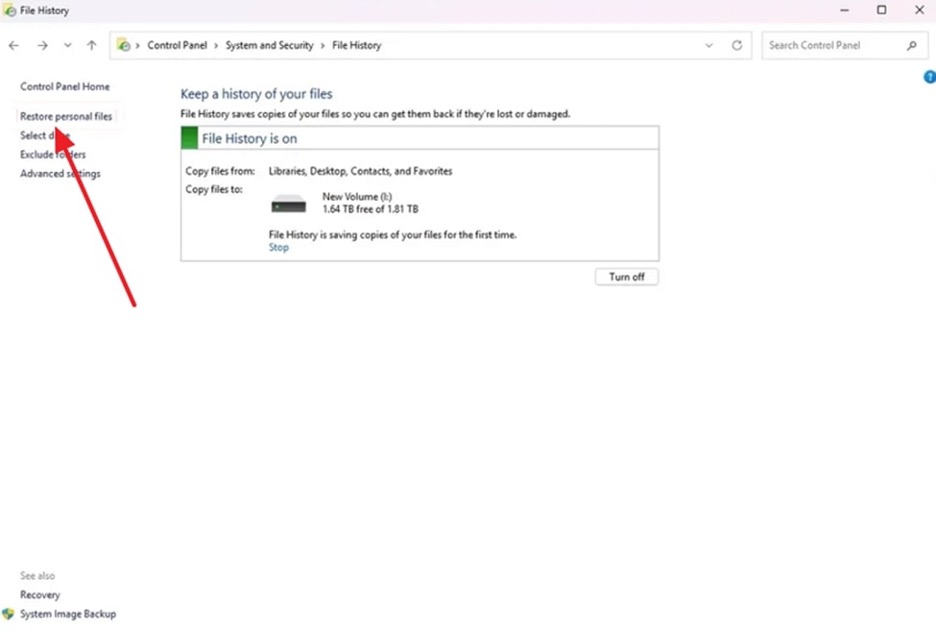
Step 2. After this, press the left and right buttons at the bottom to navigate File History. Later, choose your desired file or photo and click the “Restore” button to recover it.

Method 3: Restore from Cloud Backup (OneDrive, Google Photos, Dropbox)
When your files are synced via cloud services, it means you can easily process “how to recover deleted photos from Recycle Bin after empty.” It’s a convenient approach that lets you recover files from any device, anywhere, without a professional recovery program. Explore the guidelines and learn how to restore files that aren’t seen in the Recycle Bin anymore:
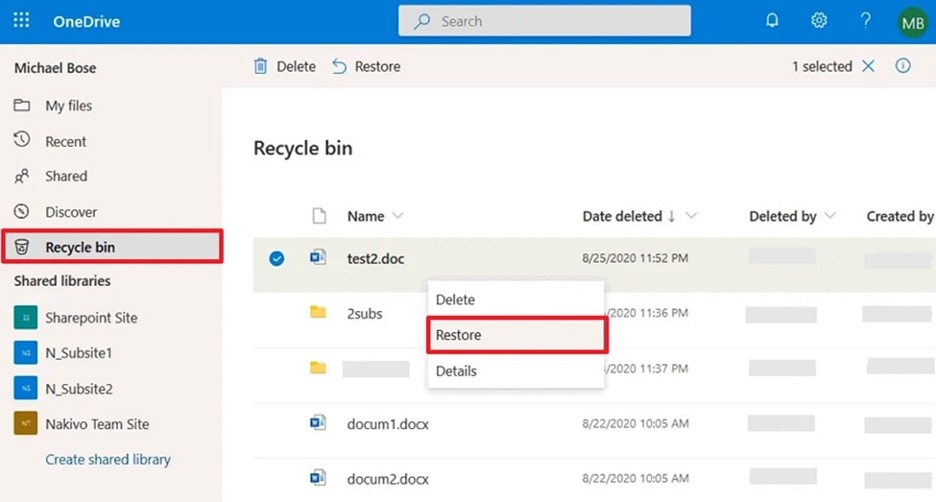
Instructions. At first, log in to your OneDrive account and access the “Recycle Bin” section from the panel at left. Next, search for the file you need, right-click it, and choose the “Restore” option from the revealing menu.
Method 4: Use Advanced Command-Line Tools (PowerShell or Recovery Utilities)
For advanced users, command-line tools such as PowerShell or specialized recovery utilities simplify the process. It’s more beneficial because it allows targeted recovery of specific file types or locations. When dealing with system-level deletion, follow the provided tutorial and get your files/photos recovered instantly:
Step 1. Search for Windows PowerShell and choose the “Run as Administrator” option to reveal the command window.

Step 2. After this, enter the “cd $Recycle.Bin” command and press Enter to move into the Recycle Bin system folder. Later, type “dir /s’ and press “Enter” to list all the deleted items and their internal names/path. Once your file is located, use move “filename.ext” “C:\Recovered” command to restore the file.

Note: Adjust the command names and paths needed to match your Recycle Bin recovery scenario.
Part 4. Manual Methods vs. Recoverit: The Smarter Way to Recover Deleted Files from the Recycle Bin
For an informed decision, review the provided tabular comparison and recover deleted files from the Recycle Bin after emptying it more effectively:
| Aspects | Manual Methods | Recoverit |
| Setup Requirement | Needs Recycle Bin not emptied, backups configured in advance. | Works even without prior setup or backup. |
| What You Can Recover | Limited to what’s in the bin or backed up (older versions only). | Scans the drive for many deleted files, including photos or files. |
| Difficulty Level | Simple to moderate level recovery | Beginner-friendly with more options and filters. |
| Recovery Depth and Control | No deep scan; can’t see files removed long ago or before backups. | Deep scan, preview, and selective restore to a safe location of your choice. |
| Best Use Case | First try for recent deletions when backups or the Recycle Bin still have files. | Professional defense for tough cases where the manual option no longer works. |
Conclusion
In conclusion, a file/picture lost after emptying the Recycle Bin doesn’t mean your essential is no longer recoverable. Complete guidance on how to recover deleted files from the Recycle Bin after emptying and take timely action, simply things with confidence. From the methods discussed above, Recoverit remains the most reliable because it can recover multiple files at once.
