
“Never do anything twice” is an old programming maxim. And yet, faced with a computer capable of powerful automation, folks choose to instead manually repeat tasks. Programming is hard, after all, and it takes a while to learn. But you don’t need to be some kind of crack coder to automate a few things. With something like Applescript, you can automate basic tasks with only a teaspoonful of programming knowledge and a little syntax familiarity.
What is Applescript?
Applescript is Apple’s somewhat-obscure scripting language for automating actions. It’s similar to a super-powered, text-based version of Automator. Applescript interfaces with most Mac applications, like Finder, iTunes, QuickTime and Mail. It can also connect with many third-party programs, provided the developers of those programs wrote hooks allowing Applescript to attach to their code. With a little programming knowledge and the examples below, you might find that Applescript is a powerful tool for novice programmers to experiment with.
What can Applescript do?
Unlike a more flexible, full-formed programming language, Applescript can’t simply do anything. It relies on “verbs,” or Applescript actions that connect to other programs on the system. Imagine that, instead of moving your mouse to double click a file, you instead told your computer to open the file from a microphone. That’s something like the difference between manual application and Applescript. The task gets done in basically the same way, but with less direct user input.
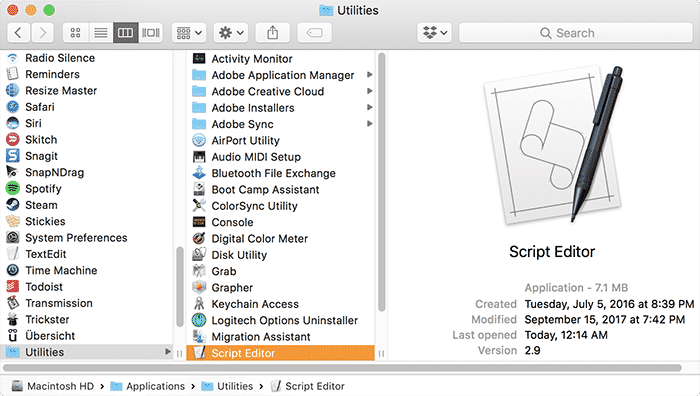
To find out what Applescript can do, you’ll need to take a look at the Script Editor. You’ll find that in Applications/Utilities.
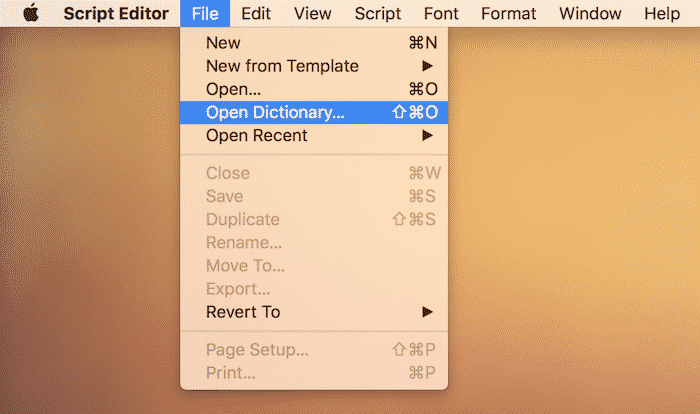
With the script editor open, choose File > Open Dictionary…
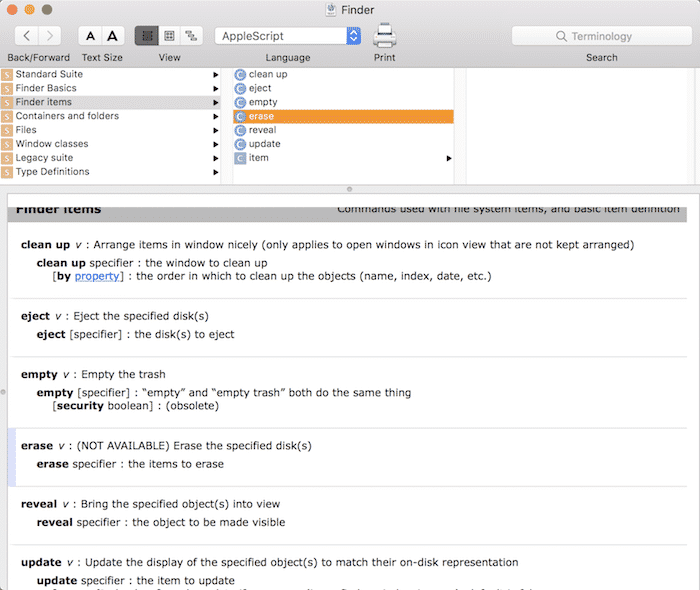
Then, choose the application whose dictionary you wish to view from the list. You’ll notice many third-party applications in this list, which might have quite limited dictionaries. We’ll look at Finder to get a sense of what’s available.
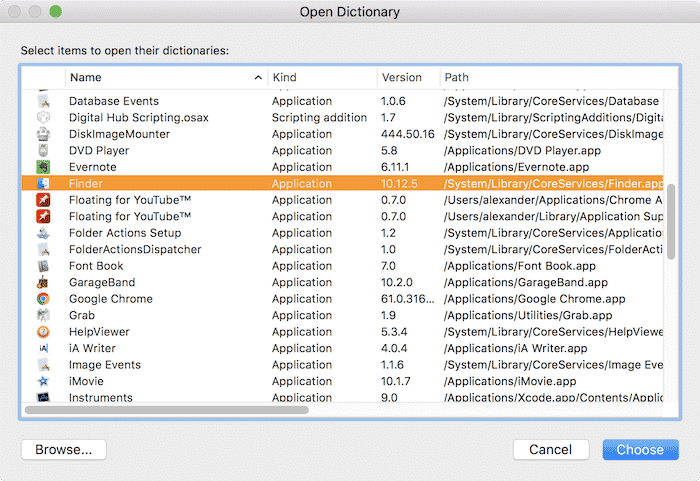
Finder has one of the largest dictionaries in Applescript, so it’s broken in to many sections. You can navigate through sections in the top left pane, and read definitions in the bottom pane.
Scripts are are saved out of Script Editor like applications, which you launch like any other. Double-click on the application, and it will run the requested script.
If you’re curious about syntax and how this all goes together, you can check out Apple’s own documentation. Better still is MacOSXAutomation.com, which is a little more readable.
Let’s check out three tasks you can automate with Applescript below.
1. Toggle Hidden Files
Save this out of Script Editor as an application. Then you’ll have a clickable toggle to reveal hidden files in Finder.
set newHiddenState to "YES"
try
	set oldHiddenState to do shell script "defaults read com.apple.finder AppleShowAllFiles"
	if oldHiddenState is in {"1", "YES"} then
		set newHiddenState to "NO"
	end if
end try
do shell script "defaults write com.apple.finder AppleShowAllFiles " & newHiddenState
do shell script "killAll Finder"
2. Batch Rename Files
This script will prompt the user for a filename. Then it will then automatically rename the selected files with that text string, plus an increasing index number at the end.
-- This code comes from https://gist.github.com/oliveratgithub/
-- Open in AppleScript Editor and save as Application
-- ------------------------------------------------------------
--this is required to break the filename into pieces (separate name and extension)
set text item delimiters to "."
tell application "Finder"
	set all_files to every item of (choose file with prompt "Choose the Files you'd like to rename:" with multiple selections allowed) as list
	display dialog "New file name:" default answer ""
	set new_name to text returned of result
	--now we start looping through all selected files. 'index' is our counter that we initially set to 1 and then count up with every file.
	--the 'index' number is of course required for the sequential renaming of our files!
	repeat with index from 1 to the count of all_files
		--using our index, we select the appropriate file from our list
		set this_file to item index of all_files
		set file_name_count to text items of (get name of this_file)
		--if the index number is lower than 10, we will add a preceding "0" for a proper filename sorting later
		if index is less than 10 then
			set index_prefix to "0"
		else
			set index_prefix to ""
		end if
		--
		--lets check if the current file from our list (based on index-number) has even any file-extension
		if number of file_name_count is 1 then
			--file_name-count = 1 means, we extracted only 1 text-string from the full file name. So there is no file-extension present.
			set file_extension to ""
		else
			--yup, we are currently processing a file that has a file-extension
			--we have to re-add the original file-extension after changing the name of the file!
			set file_extension to "." & item -1 of file_name_count
		end if
		--let's rename our file, add the sequential number from 'index' and add the file-extension to it
		set the name of this_file to new_name & index_prefix & index & file_extension as string
	end repeat
	--congratulations for successfully accomplishing the batch renaming task 🙂
	display alert "All done! Renamed " & index & " files with '" & new_name & "' for you. Have a great day! :)"
end tell
3. Scale image to pixel width
This script will prompt the user for the desired pixel width, and append that pixel width to the beginning of the new file’s name. It will not overwrite existing files, and saves to the Desktop by default.
-- Prompt for an image
set theImageFile to choose file of type "public.image" with prompt "Please select an image:"

set dialogResult to (display dialog "Enter desired pixel width:" default answer "") try set pixelWidth to (text returned of dialogResult) as integer end try

-- Locate an output folder
set theOutputFolder to (path to desktop folder as string)

-- Launch Image Events
tell application "Image Events"
    launch

    -- Open the image
    set theImage to open theImageFile
    tell theImage

        -- Determine a save name for the image
        set theName to name
        set theSaveName to (pixelWidth as text) & "-px-" & theName

        -- Scale the image to pixelWidth
        scale to size pixelWidth

        -- Save the image to the output folder, using the save name
        save as file type in (theOutputFolder & theSaveName)

        -- Close the image
        close
    end tell
end tell
You might also like some of the following:
