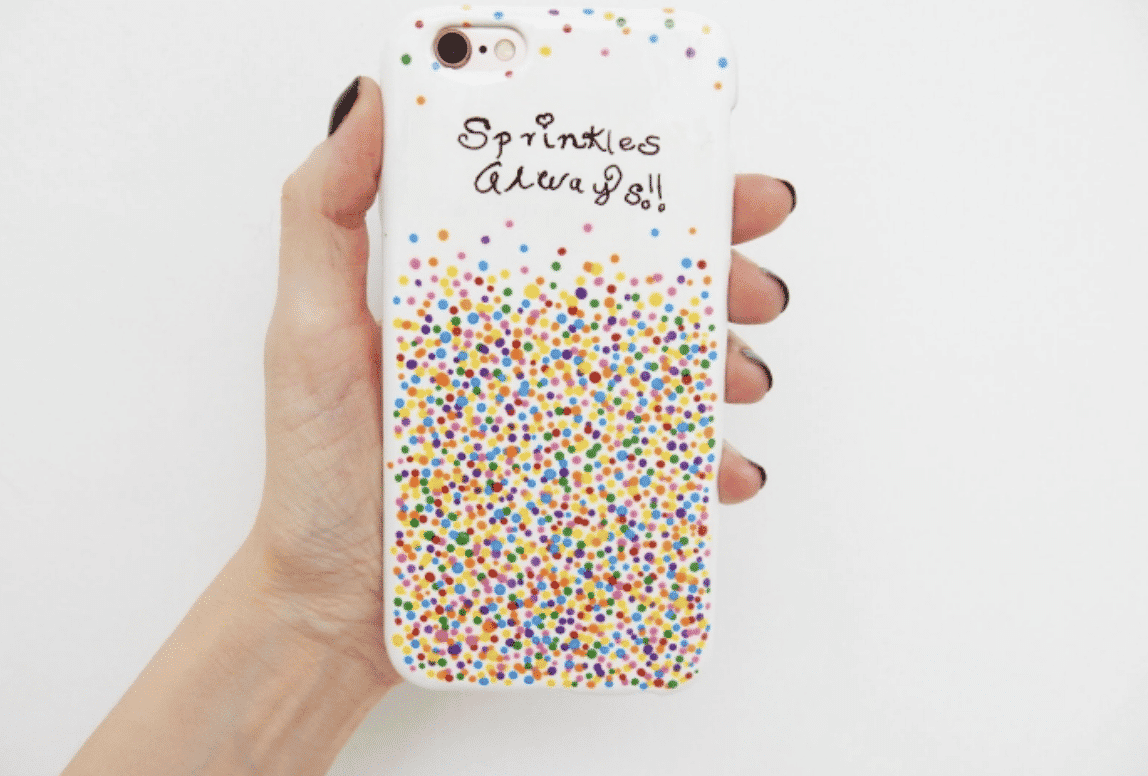
Do you want to decorate your phone’s case with a 3D print? Wondering how you can do it without taking professional help? Here’s a step-by-step guide that you can follow:
Steps to 3D Print a Phone Case
1. First, you need to choose the design that you want to print. Next, you should download the STL file or stereolithography file from the CAD software. You can also use the same software to modify the design before finally printing it on your phone’s case.
2. Open the design area by clicking on “Create New Design.” It will already contain many shapes and designs. Drag and drop any design to customize it.
3. If you don’t want to use any pre-installed design, you can import your .STL file from your computer. Let the design area load the file. It takes a few seconds for the application to render the design.
4. You can drag and move the file anywhere you want. Since it’s a 3D design, you can check out the different angles and corners to ensure that you want to finally work with the same file. Use the scrolling wheel on your mouse to zoom in or zoom out of the design.
5. Add a few shapes, fonts, or designs to the STL file. If you don’t like anything, you can always use the Ctrl + Z command to undo your work. It allows you to go back a step and review your mistake. You can redo your work as many times as you want. All you have to do is keep pressing Ctrl + Z.
6. You can change the view of your design by right-clicking on it. Move it around to see the sides, front, and back. You will also see a few white corner boxes. Make sure you don’t mess with them. They are there to resize your design.
7. Measure the size of your phone’s case and cut out the camera panels and logo designs from the STL file. Zoom in to see if your measurement is accurate. If you want to add any text to your design, select the text tool and edit whatever you want to write. You can modify the text as many times as you want.
8. It’s possible to increase or decrease the size of the 3D text. Hold one corner of the text box and drag it while pressing the Shift key. This keeps the resolution of the text intact.
9. You should mirror the text while designing it so that it reads forwards when you finally print it. Make sure you do the same thing with your STL file also. Always place it as a mirror image on the phone’s virtual case.
10. Select the object and change the application’s camera view. You should be able to see how the design looks on the case. It would give you an idea of how the case will finally look after you print it.
11. Make the necessary changes in shape, size, and font design. Always check the preview of the STL file before you hit confirm.
12. Once you are confident about the design, it’s time to hit the Export button. Let the application export your STL file. It will soon give you an option to download. Download the file and it’s ready to print.
Printing the case
It is always wise to print 3D designs on a flexible material. You should use the FDM filament printer for this. Choose the type of filament you want for your case. Select 230°C if the printer has a heated bed. However, start at 55°C before increasing the temperature.
It may take an hour for the printer to imprint the 3D design on your phone. Once it’s done, you can show off your creativity to your friends.


