
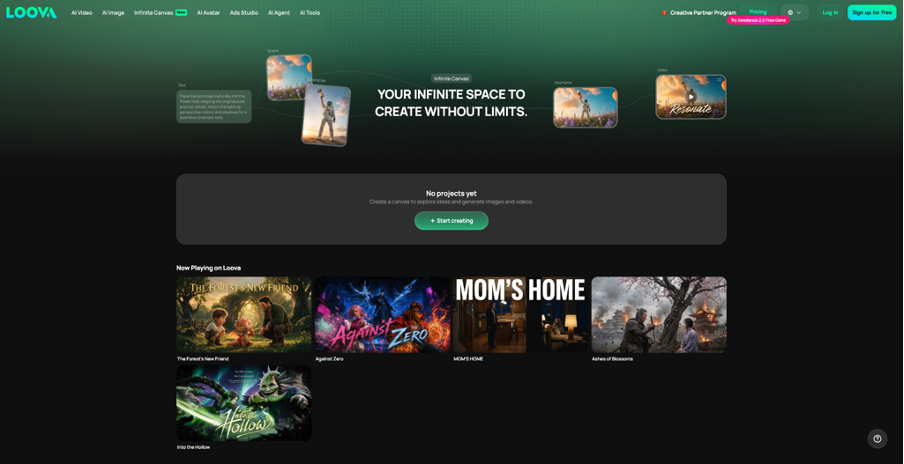
An AI video project can become difficult to manage before the final edit. Even a short production may include several scripts, references, storyboards, prompts, video variations, and revision notes. When these assets live in separate tools, it becomes hard to remember which reference produced a clip or why one version was approved. I treat an infinite canvas as a visual production map where every asset has a clear place, status, and source connection.
What an Organized AI Video Canvas Should Show
A well-organized canvas should reveal the story, approved references, scene order, drafts, and selected clips at a glance. The best AI Canvas for video make it easier to repeat
I organize the project along three dimensions:
- Production stage: brief, script, references, storyboard, generation, revision, and final output
- Asset relationship: which text, image, or video led to the next asset
- Production status: draft, under review, needs revision, approved, or unused
Unlike a folder, the canvas can show which image defines a character or becomes a shot’s starting frame.
How to Organize an AI Video Project on an Infinite Canvas
Create a Project Overview Area
I begin with a small overview group containing the title, one-sentence concept, audience, platform, duration, aspect ratio, visual direction, and production status.
I add the latest brief or script as a master text node. Earlier versions remain connected nearby, but only the active draft sits in the overview. This prevents accidental use of outdated dialogue or a discarded ending.
For a skincare commercial, the overview might specify a 9:16 format, botanical style, four shots, and a focus on hydration.
Divide the Canvas into Several Zones
Next, I create distinct areas for the main stages of production:
- Creative brief and script
- Character, product, and location references
- Storyboards and keyframes
- Video generations
- Revisions and alternate versions
- Approved clips and final notes
I normally move from left to right so the canvas follows the production process, while shared references remain above the scene groups. Every new node should have an obvious destination.
Build a Consistent Group and Color System
Groups prevent related nodes from drifting apart. I create one group for each scene and keep its script, keyframes, clips, and notes together. Shared assets stay in a central reference group.
Colors should communicate status or asset type consistently. A simple system works better than a complicated one:
- Blue for scripts and notes
- Purple for character, product, and location references
- Yellow for storyboards and keyframes
- Orange for assets requiring revision
- Green for approved images and videos
- Gray for unused experiments
A creative canvas gives each stage room to expand while keeping the full project visible. I can move from a script node to a reference image, then follow its connections to a keyframe, generated clip, and revision without searching through unrelated folders.
Grouped nodes can be moved together, allowing me to reposition a complete scene at once. A small color key helps collaborators understand the system.
Use Clear Names for Every Node
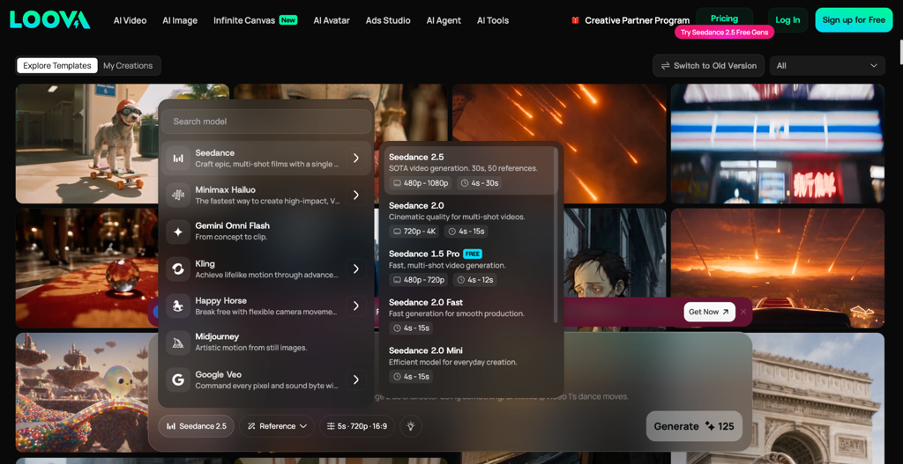
Usually, I use an AI video generation tool to create several short clips before I start the entire process. Names such as “video 2,” “new version,” and “final final” become useless once dozens of assets appear. I use a consistent pattern containing the scene, shot, asset type, version, and status.
Examples include:
- S01–SH02–Keyframe–V1–Review
- S01–SH02–Video–V3–Approved
- S03–SH01–FinalFrame–Reference
I continue the same naming system after export so each asset remains identifiable outside the canvas.
Connect Every Generation to Its Source
Connections show how the project developed. A scene description may lead to a storyboard, approved keyframe, video variations, and edited segment. A visible chain makes successful choices easier to repeat.
I connect nodes only to relevant sources. If a keyframe depends on a character, location, and shot description, those links are useful. Connecting every color sample creates visual noise.
Organize the Project by Scene and Shot
I give each scene a large group and create a branch for every shot. A branch contains its description, references, keyframe, prompt, video variations, revision note, and selected clip.
Scene groups are arranged in story order. Shared character and location references stay in a central area and connect to the relevant shots, preventing duplicate copies from filling the canvas.
This layout makes progress visible. If Scene Two has approved keyframes but no videos, I immediately know where work should continue.
Keep Video Variations Easy to Compare
I place alternate videos beside the same keyframe and change one variable at a time, such as camera movement, performance, speed, or lighting. A short note records what changed and why a version was selected.
It becomes easier to evaluate when every result remains connected to the same prompt and keyframe. Instead of choosing the clip with the most dramatic movement, I can compare how each option serves the intended shot.
Rejected generations move into a gray experiments group. An unused clip may still contain a useful pose, composition, or transition.
Use Frame Capture to Connect Shots
Frame Capture can extract the first, current, or final frame from a video. I name each frame by purpose and place it between the clips it connects.
The first frame helps compare the video with its keyframe. A current frame can preserve a strong new composition. The final frame can guide the next shot and help maintain character position, costume, lighting, and screen direction.
If a clip ends with a model raising a skincare bottle, I can capture that ending as the reference for a close-up. The connection explains how the frame should be used.
Track Segment Edits as New Versions
When only part of a 4–30 second clip needs improvement, segment editing can revise that section without replacing the entire video. I keep both versions together.
Besides the revision, I add a short note containing
- The section that was edited
- The problem in the original
- The requested correction
- The result of the review
For example, a note may identify an unnatural hand movement and ask for a slower gesture while preserving the camera and product position. This history allows me to restore an earlier version if necessary.
Separate Drafts from Approved Assets
The main production path should contain only usable assets. I create an approval area for the final script, references, keyframes, and selected clips.
Drafts remain in their scene groups with clear labels. When an asset becomes final, I change its status, move it into the approval group, and preserve its source connection.
Collaborators can then find selected materials without reviewing every experiment.
Prepare the Canvas for Final Production
Once all shots are approved, I arrange them in sequence and add notes for trimming, transitions, dialogue, sound, color matching, captions, and titles.
The canvas functions as a production blueprint rather than the final timeline editor. It shows clip order and duration while preserving the script, references, prompts, and revisions. If a shot needs replacing, I can trace it to its source branch.
Example Layout for a 30-Second Product Video
For a skincare commercial, I would place the overview and script in the upper-left corner. A central area would contain the product photo, packaging, model, botanical materials, palette, and lighting references.
Below that, I would create four groups: product introduction, ingredient close-ups, application, and final hero shot. Each would contain a description, keyframe, prompt, variations, and revision notes. Product references would connect to all four, while the model would connect only to the application scene.
Approved clips would move into a green group in sequence, with notes for duration, transitions, and audio. Failed tests would remain in a separate gray group.
Every selected clip can then be traced to its prompt and references, while unfinished scenes remain visible.
Conclusion
An organized infinite canvas should show both assets and decisions. Production zones, consistent groups, clear names, source connections, and a separate approval area keep the project readable. Establishing this structure early gives collaborators a reliable map from the brief to the final sequence.
Frequently Asked Questions
What should I put on an AI video canvas?
Include the brief, current script, references, storyboards, keyframes, prompts, video generations, revision notes, captured frames, and approved clips.
Should I organize assets by type or scene?
Use both. Organize reusable references by type and production assets by scene and shot. Connect shared references where they are used.
How should I name AI-generated video files?
Include the scene, shot, asset type, version, and status. Continue the same convention after export.
What should I do with rejected generations?
Move them into a labeled experiments group outside the main production path. Keep any potentially useful options.
How do connections between nodes help?
Connections show which script, prompt, image, or video guided a new asset, preserving its production history.
How can I track video revisions?
Keep original and revised clips together, assign version numbers, and note what changed. Do not overwrite the source before approval.
