
It’s easy to be inefficient. And for things that you only do once in a while, inefficiency is fine. Optimizing performance for a monthly task is generally a overall time loss. But for things you do frequently, finding the most efficient and effective method is worthwhile. This goes double for work that you need to share with other people, or workflows that need to be compatible across a company. And if you get to use software the way it was designed to be used, instead of fighting the software to impose your own personal workflow, you’ll have an even easier time.
Styling text in Microsoft Word is one of those things that it pays to do correctly. And yet, so many people are passionately dedicated to doing it incorrectly. Direct styling everything might feel simpler, but it’s slower, more complicated and causes an amazing percentage of “problems” that users have with Word. It won’t make your images stay in one place (can anything? The search continues…) but your text will stay the way you put it, provided you use Styles as they are intended.
Applying existing styles
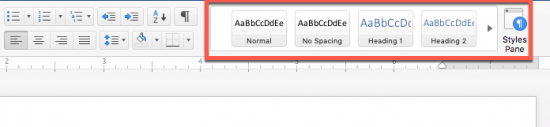
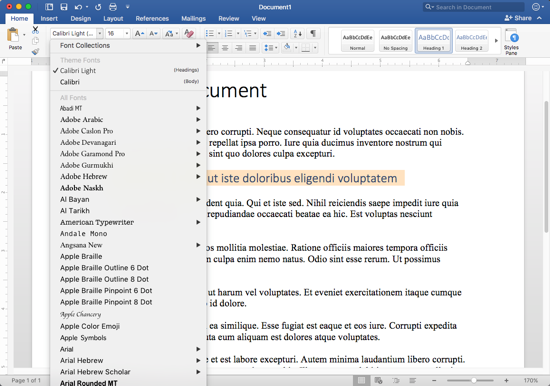
Built-in styles can be applied by clicking on their icon in the Styles menu in the ribbon. We’ll be doing a lot of our work in the “Styles” pane which is found in the “Home” ribbon.
Use the headings as a starting point both for organizing your document and creating your own custom styles.
1. Select the text you want to change. Selecting the text you want to modify will always be the first step for any text-styling task. Pro-tip: you can select a whole line of text by clicking off to the left of the line, in the document’s margins. The mouse cursor will face backwards to let you know you’re in the right place.

2. Click on the appropriate style icon in the “Styles” pane.
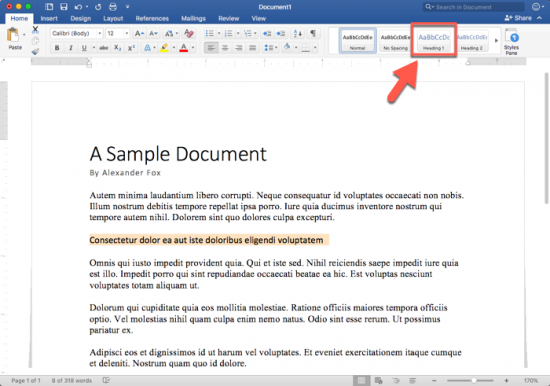
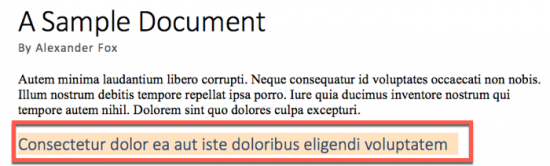
3. The selected text is now styled as previewed in the icon.
Modifying styles
Most users don’t want to be limited to the built-in styles. While there are other styles available in the Design menu of the ribbon, users can make their own. Making a new style from scratch is a pain: you’re better off modifying an existing style. It also allows you to take advantage of the built-in structural elements embedding in many styles. You’ll use the same method for updating your own styles as you tweak them.
1. Apply the matching style you want to change.
2. Make the appropriate changes to the text with the direct styling tools.
3. Right-click on the style you applied in the Style ribbon and choose “Update [Style] to Match Selection.”
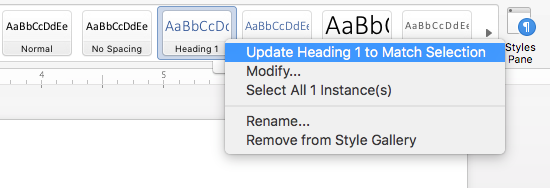
This will change the style to match and automatically sync that change to every other instance of the Style in your document. It will also update the Style’s preview icon.

Advanced Styling Options
You can also apply some advanced styling options to your Styles, making them more useful and functional. All of these changes can be propagated across styles by modifying existing styles, as shown in the previous step. Here are a few choice examples.
Add space below a heading without Return
Most of the time you want a little space between your headings and your body copy. Don’t use the Return key to make it! Insert whitespace using the Paragraph menu.
1. Select the heading you want to add space after.
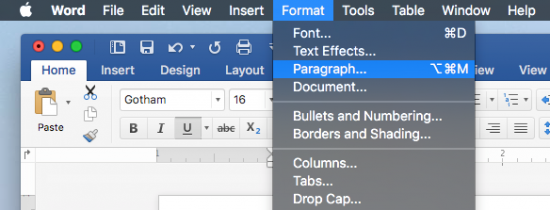
2. Open the Paragraph menu from the menu bar (Format > Paragraph). You can also press Command+Option+M with text selected.
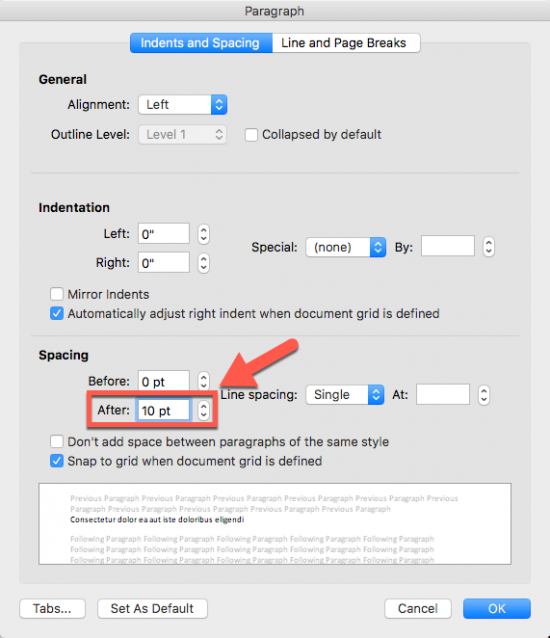
3. Adjust the point value in the “After” box, under the “Spacing” section. You can also use the nearby “Line spacing” drop down for less precise adjustments.
Add a horizontal rule or line
1. Select the text you want to add a line underneath
2. Click the “Borders” icon in the Paragraph ribbon menu and choose “Bottom Border” from the drop down.
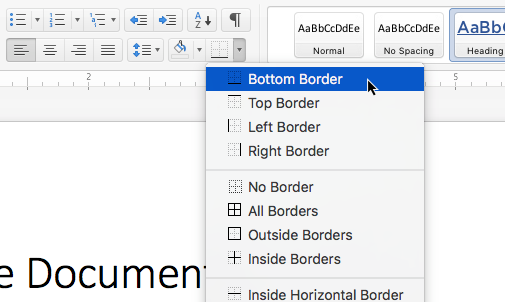
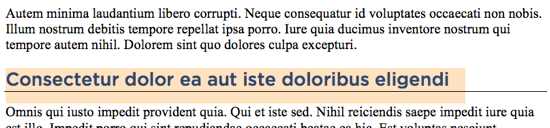
3. This will add a horizontal line all the way across the page, instead of just under the text, as an underline would.
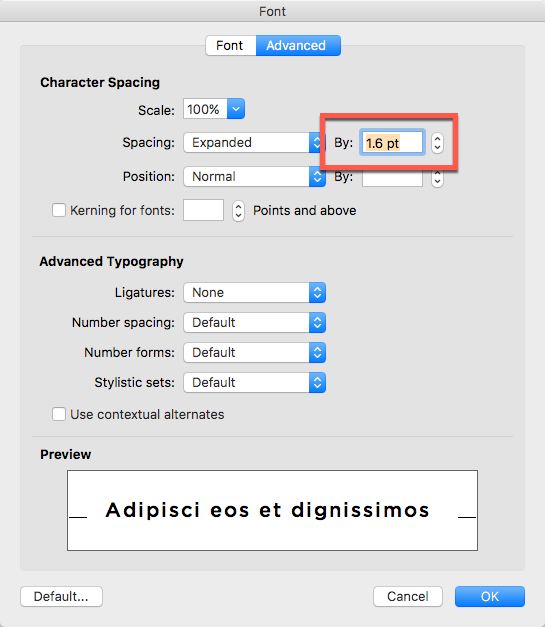
Expand letter spacing
Give your text some breathing room, which is useful for headings.
1. Select the appropriate text to change.
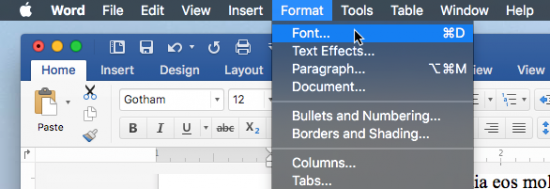
2. Open the Font menu from the menu bar (Format > Font) or press Command+D with text selected.
3. Click on the “Advanced” tab.
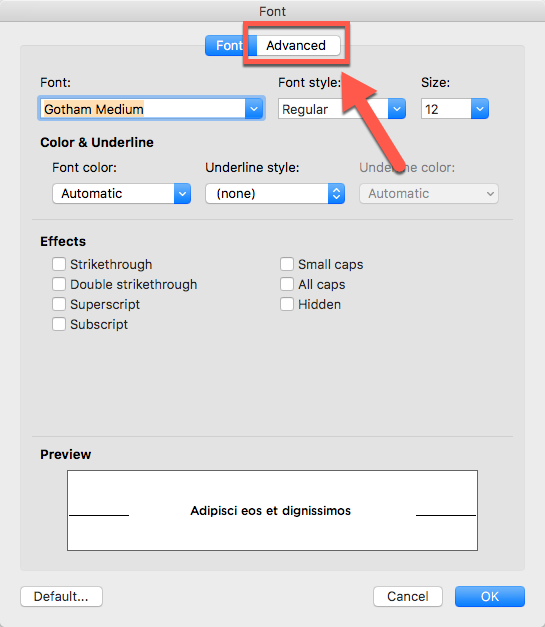
4. Click the drop down next to “Spacing” and choose “Expanded.”
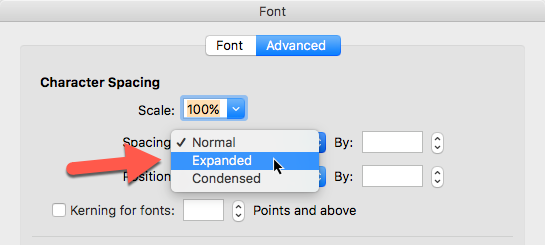
5. Adjust the point value until satisfied.
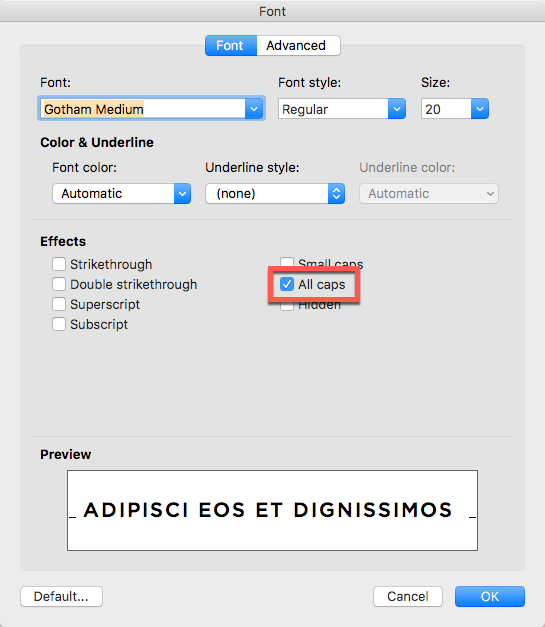
Create an all-caps style
Headings often look nice set in all caps. You can apply this in the same Font Options menu you just visited.
1. Open the Font menu from Format > Font or press Command+D with text selected.
2. Tick the “All Caps” box in the Font tab.
Saving and Sharing Style Templates
Once you’ve created a set of styles that you like, you can save it as part of a template. Save the file as a template (.dotx), then create a new file with that template. These files can also be shared among users. Learn more about Word templates in our guide.
Parting Advice
Make sure you apply your styles appropriately: the style names aren’t meaningless! They also create the structure of your document. Headings with higher numbers are nested “inside” headings with lower numbers in outlining terms. Use “Heading 1” for the most important heading(s), “Heading 2” for secondary headings and so on. Careful use lets you generate a Table of Contents, zoom through long documents with the Navigation Pane and export your document to blog posts easily.
You might also like the following posts:


One thought on “Correctly Style Text in Microsoft Word for Mac”
I appreciate the way you shared such great information. I am happy to find such an informative post after so long. Hope more to come as I’m an avid reader. I tried to educate myself as much as possible.
I love your blog. I don’t normally comment but I really needed this one today – must be at the bottom dip of my roller coaster … sitting here with tears in my eyes. So just a thank you!