It’s drop-dead easy to record video of the real world with your iPad or iPhone. But if you want to record video of what’s taking place on your actual iPad or iPhone screen, that’s another thing. While the needs is less common, this is invaluable for creating tutorials for your new app, capture in-game footage, or grabbing streaming videos from online services.
Barring Snapchat-worthy solutions like recording your phone with another phone, you’ll need to bring in a third-party app to get this done properly.
Movavi Screen Capture Studio for Mac is a great iPad screen recorder that will help you get this done. It’s an easy-to-use, intuitive application that simplifies the process of recording video from your iPad’s screen while also offering some powerful under-the-hood capabilities, and it’s not to hard to get started.
Movavi Screen Capture Studio runs on your Mac and records the on-screen activity of any USB-connected iPad or iPhone. Along with your iPad or iPhone, you’ll need a Lightning to USB cable and a Mac with Movavi Screen Capture Studio 3 installed.
Recording from an iPad or iPhone
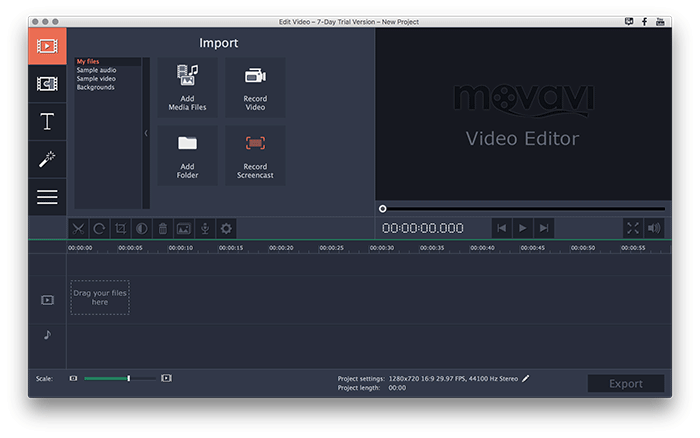
1. To get started, download and install Movavi Screen Capture Studio 3 on your Mac. When you’re done, launch the app. You’ll be greeted with the screen below.
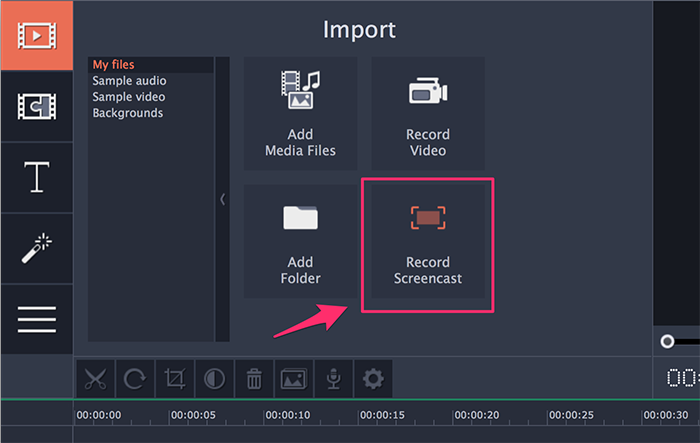
2. Click on the “Record Screencast” button in the left-hand pane.
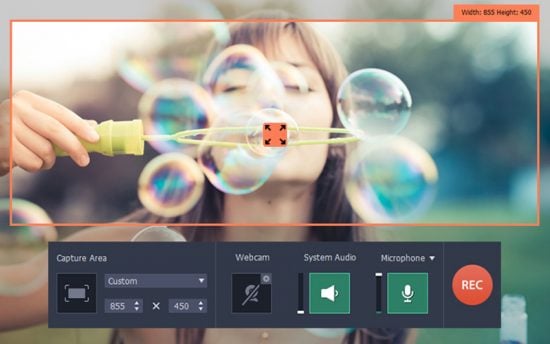
2. The large window will disappear and be replaced with a smaller task bar and a orange capture selection rectangle.
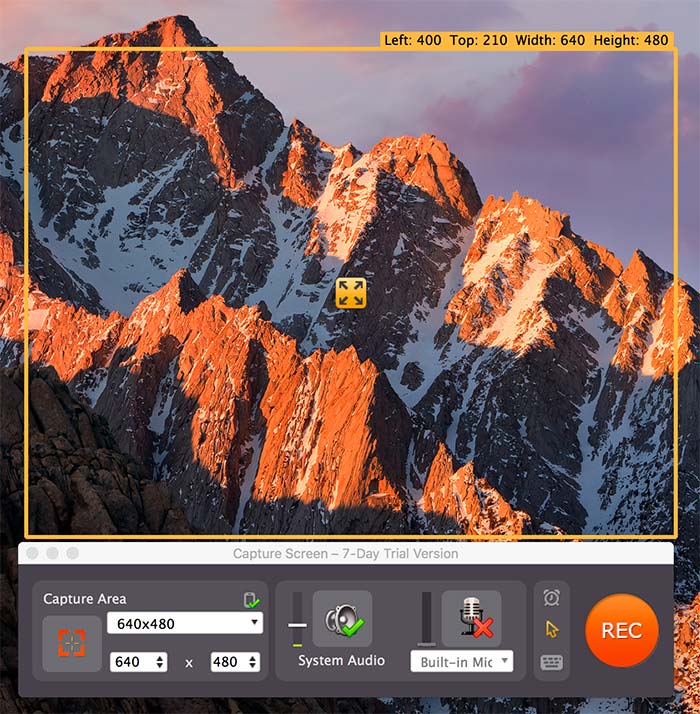
2. Connect your iPad or iPhone to your Mac with your Lightning to USB cable. Watch for a mobile device icon with a green check mark to appear. This will indicate the connection between your Mac and your device has been created successfully.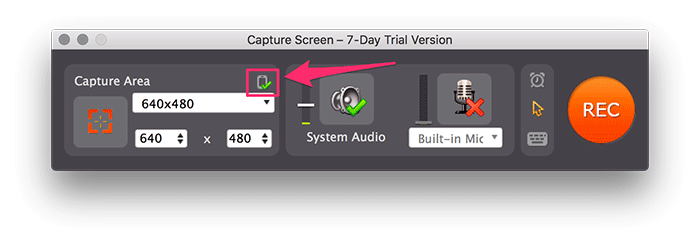
If you instead see a red “x” there, make sure your device is on and unlocked. If you still don’t see it, press the home button on your device to cycle the connection.
3. Click the dropdown menu under “Capture Area.” Then scroll down to find your device on the bottom of the list.

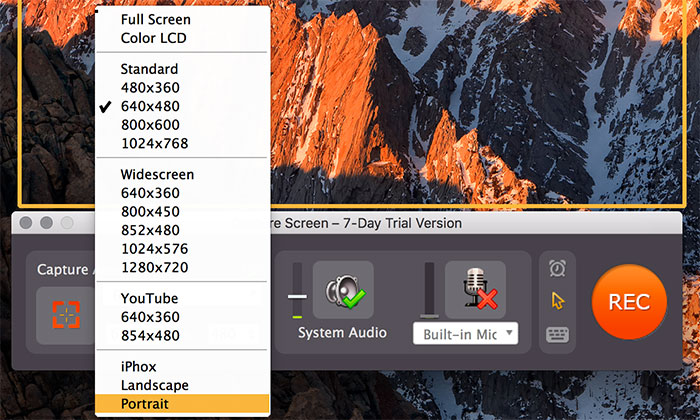
4. Click on “Portrait” or “Landscape” to choose the orientation of your recording. Even though this is a video, you’ll probably want “Portrait,” since that’s how most people hold their devices.
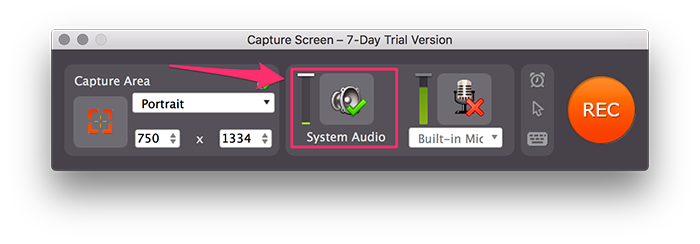
4. To record the sound coming from your iPad or iPhone, make sure there is a green check mark on the system audio icon. If not, click the icon once it toggle it on. You can also try using the built-in mic, but be warned: the audio quality from that mic will be contaminated by the sound of you touching the device. And everything else around you.
5. When you’re ready, click the big red record button to get rolling.
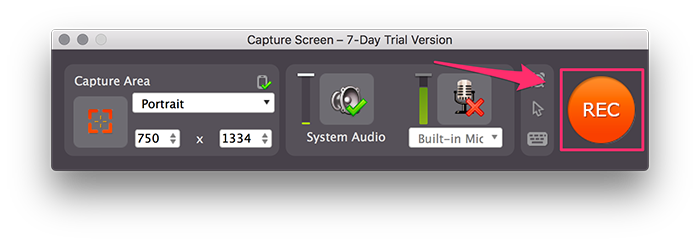
After you click recording, you’ll see a count-down prompt on your Mac. Then, the recording will automatically begin after five seconds.
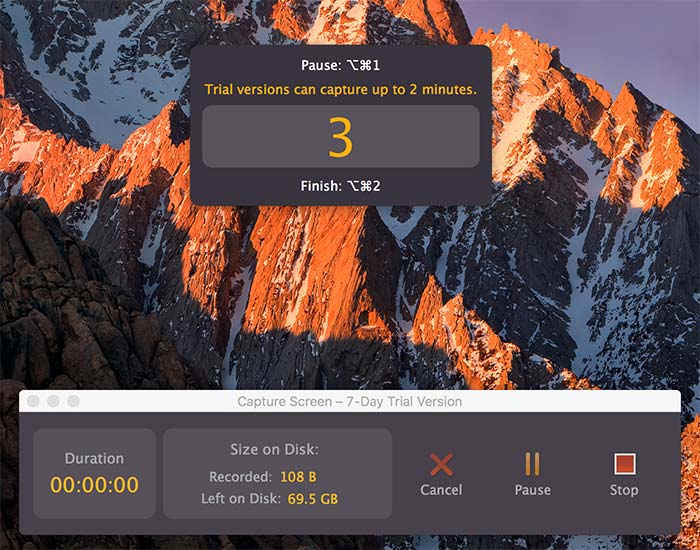
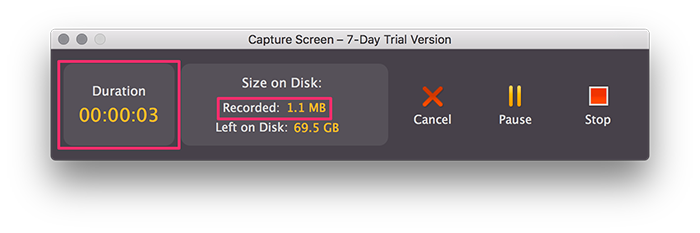
6. When the recording begins, you won’t see any kind of obvious on-screen indication on the mobile device. If you look on your Mac, you will see the incrementing “duration” and “recorded” counters, but that’s the only evidence that anything is happening.
7. Click “Stop” when you’re done recording.

Editing and Saving Your Recording
Once you’re done with your recording, you can also apply some light editing and save the file in a number of formats.
When the recording is complete, you’ll see a window with preview of the recorded file pop up.
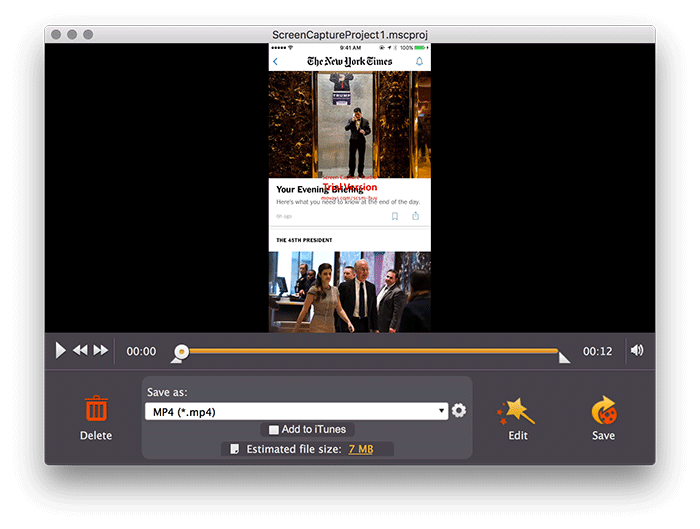 At this point, you can use the trim controls to “trim” footage from the beginning or end of the clip. To manipulate this, drag the small triangles below the progress bar left and right.

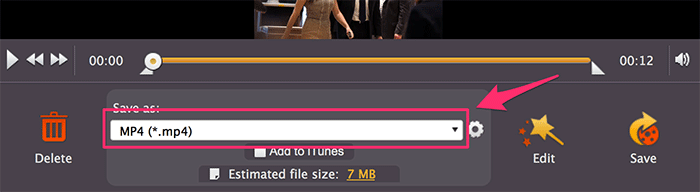
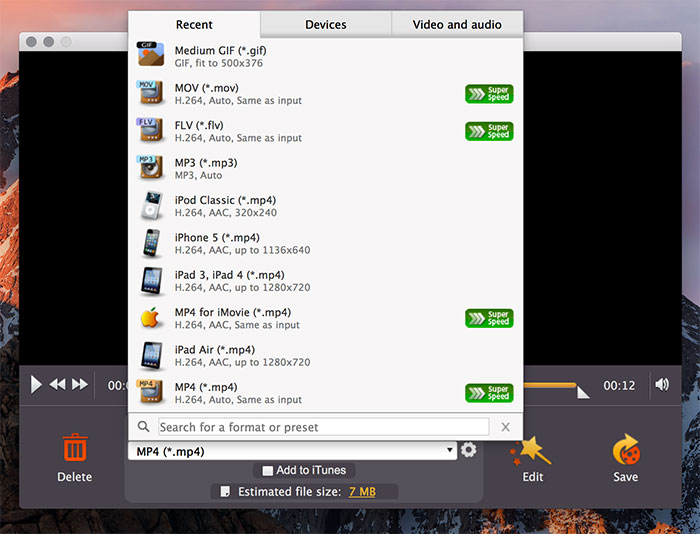
After you’ve made any necessary tweaks, you can also change the file format the video will be saved in. Click the “Save As” dropdown to select from a multitude of options.
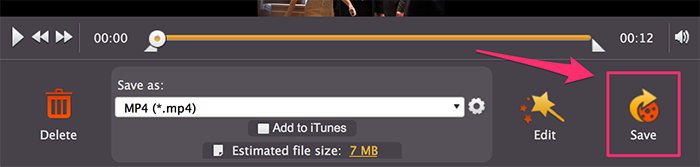
If everything looks good, click on the “Save” icon to choose a destination for your saved file.
Advanced Editing
If you’d like, you can also pop open Movavi Screen Capture Studio’s more advanced editing controls. Click on the magic-wand Edit icon to open your current clip in the editing window.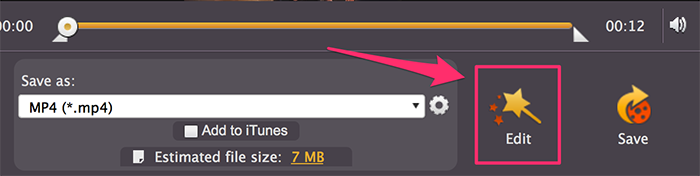
While the magic wand might imply some kind of “wizard” function, don’t be mislead. It opens a powerful editing timeline that any video editor would be comfortable with. In the broader editing window, you’ll find a variety video editing standards like titles, transitions, and audio editing.
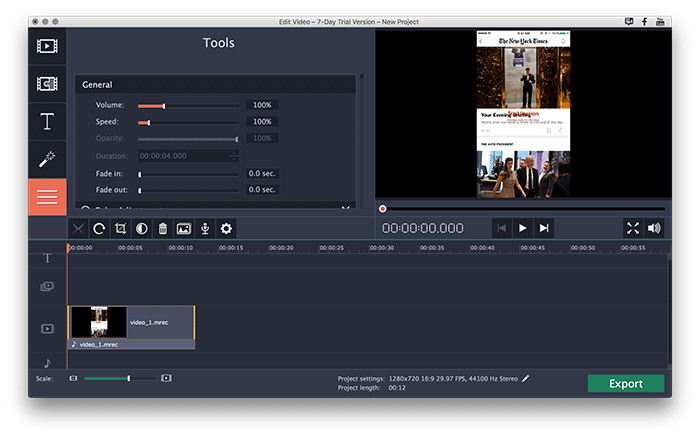
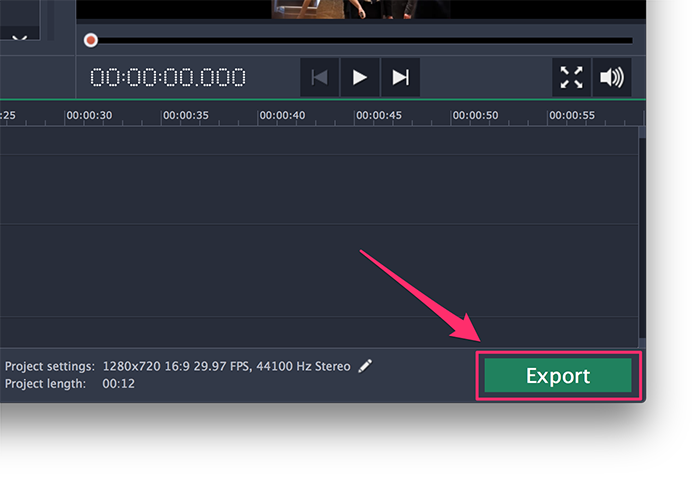
When you’re done applying all your changes there, click on the Export button in the lower-right to choose your file type and save location.
If you’re not into the higher-end features, you can completely ignore them. The app makes it easy enough to grab video off your iPad or iPhone and save it directly. But if need a little more control over your videos, check out the more advanced options.
You might also like:


