


Ringtones are a great way to make your iPhone stand out from the crowd. Whether you want a custom ringtone to distinguish your phone from others when it rings, or if you want a different song for each person in your favorites list; custom ringtones are great.
What’s not great is Apple expecting you to pay $.99 or more just for a ringtone for a song that you already own. With a little help from GarageBand you can make your own free ringtones from any song on your computer. It’s easy and here’s how.
1. Launch GarageBand
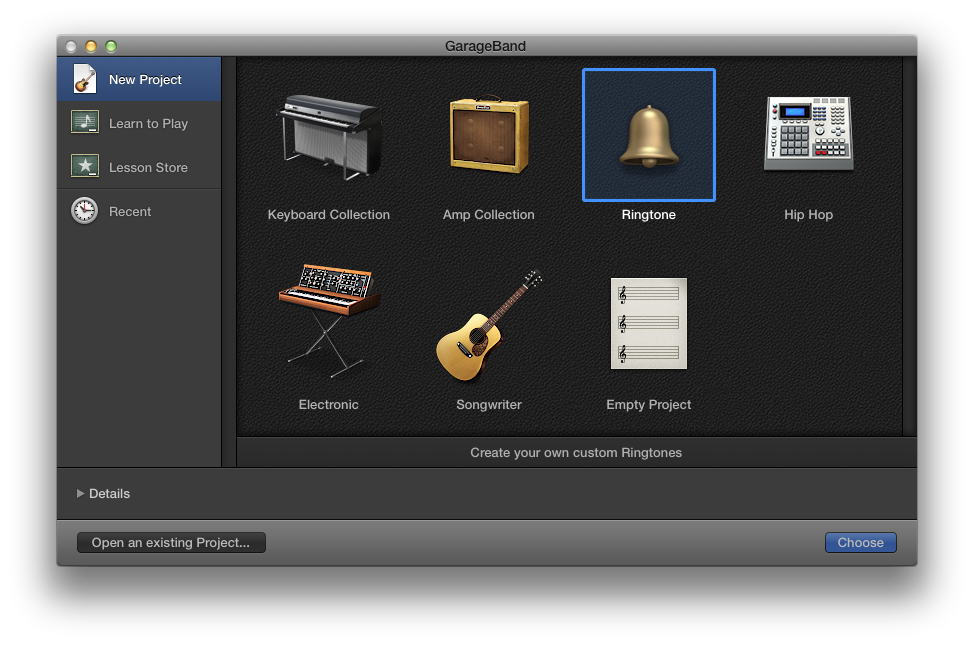
First things first, open up GarageBand (Applications > GarageBand), select Ringtone for the preset, and click Choose.
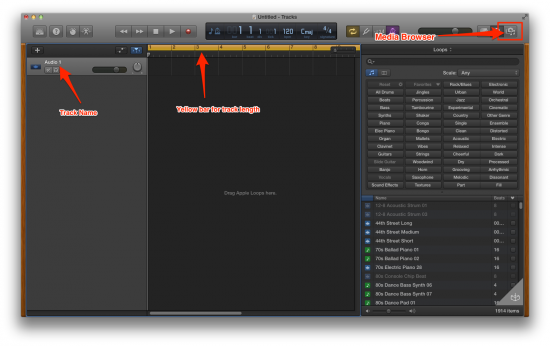
Next, you should see the GarageBand window with a single track named Audio1, a yellow bar over the time for that track, and finally a list of beats and loops on the far right. Since we want to work with iTunes music, click the Media Browser button in the top right of the window to show your music. Click the Metronome button to turn the metronome off (it annoyingly clicks and is useless for what we’re doing.)
2. Finding Your Songs
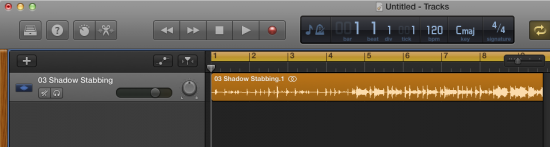
Once you have GarageBand up and running, it’s time to locate the track you want to use for a ringtone. Scroll down the list of tracks or use the listed playlists to find what you’re looking for. Once you find the track you’re looking for, drag it over and drop it at the beginning of the Audio1 track. It should populate the empty track and the track name should change to the title of the song you selected. Once you’ve selected the song, click the Media Browser button again to close it and get more working space.
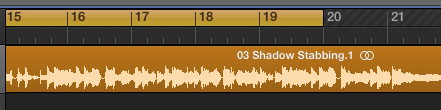
If you scroll to the right in the track window, you’ll notice the song goes on while the yellow bar at the top stops at 20. This is how long your ringtone will be, no matter how long the song itself is.
Once you’ve got the song up and ready, it’s time to get the ringtone ready.
3. Preparing the Track
When you selected the track you wanted to be a ringtone, you dropped it at the beginning of the play area so the ringtone starts with the beginning of the song. You can have the ringtone start at any point of the song; just drag the yellow bar to the right until the song starts where you want.

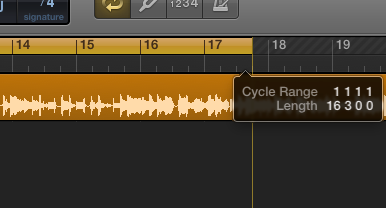
If you want to shorten the ringtone, just scroll to the end of the yellow bar and drag it shorter. You’ll see a pop-up appear that tells you exactly what measure you’re on.
Once you get the track starting where you like, you’re ready to save your ringtone out.
4. Send to iTunes
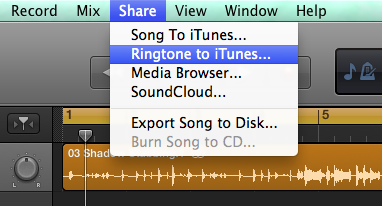
With your editing complete, you can send the ringtone over to iTunes to finish up. Getting your new ringtone over to iTunes is as easy as opening the Share menu and choosing Ringtone to iTunes.
GarageBand will convert the audio file and give it the proper tagging info so iTunes will consider it a ringtone. Over in iTunes, click on the Tones link in the sidebar or by using the media library button in the upper left corner of the iTunes window. You should now see your ringtone named “Untitled.”
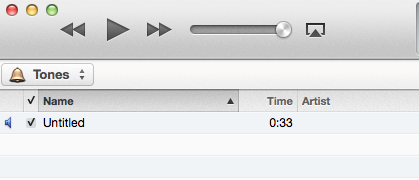
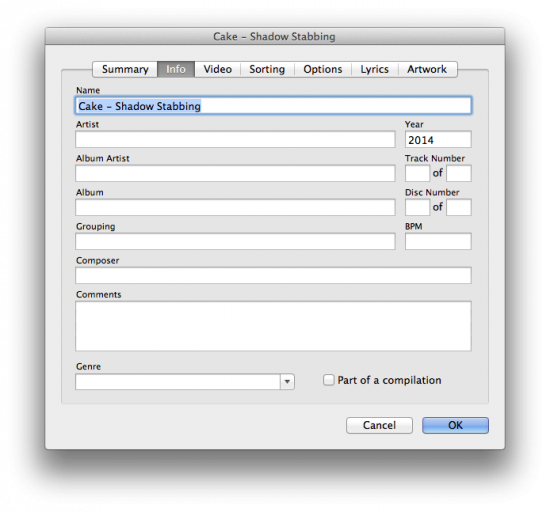
You can right-click the new ringtone and name it whatever you want.
Now just make sure you’re syncing ringtones to your phone and the next time you sync your iPhone your new ringtone will be available for you to set for any purpose.